 fr
fr  nl
nl  pt
pt  Belgium
  United Kingdom
  Bulgaria
  Romania
  Hungary
  Czech Republic
  Slovakia
 CAIROX linear diffuser made of gypsum composite for invisible architectural itegration in plasterboard ceilings
Discover how to easily install the GYP-P-LINE linear diffuser, a solution that is both discreet and high-performing, ideal for enhancing your residential or professional interiors while ensuring optimal comfort
Are you looking to install a linear diffuser that combines technical performance with refined aesthetics? This guide will walk you through the step-by-step installation of the GYP-P-LINE, the ideal solution for your high-end residential and commercial projects (offices, retail spaces, restaurants, hotels). Follow these precise instructions to ensure perfect integration into your plasterboard ceilings.
Introduction to CAIROX GYP-P-LINE: the perfect blend of performance and aesthetics
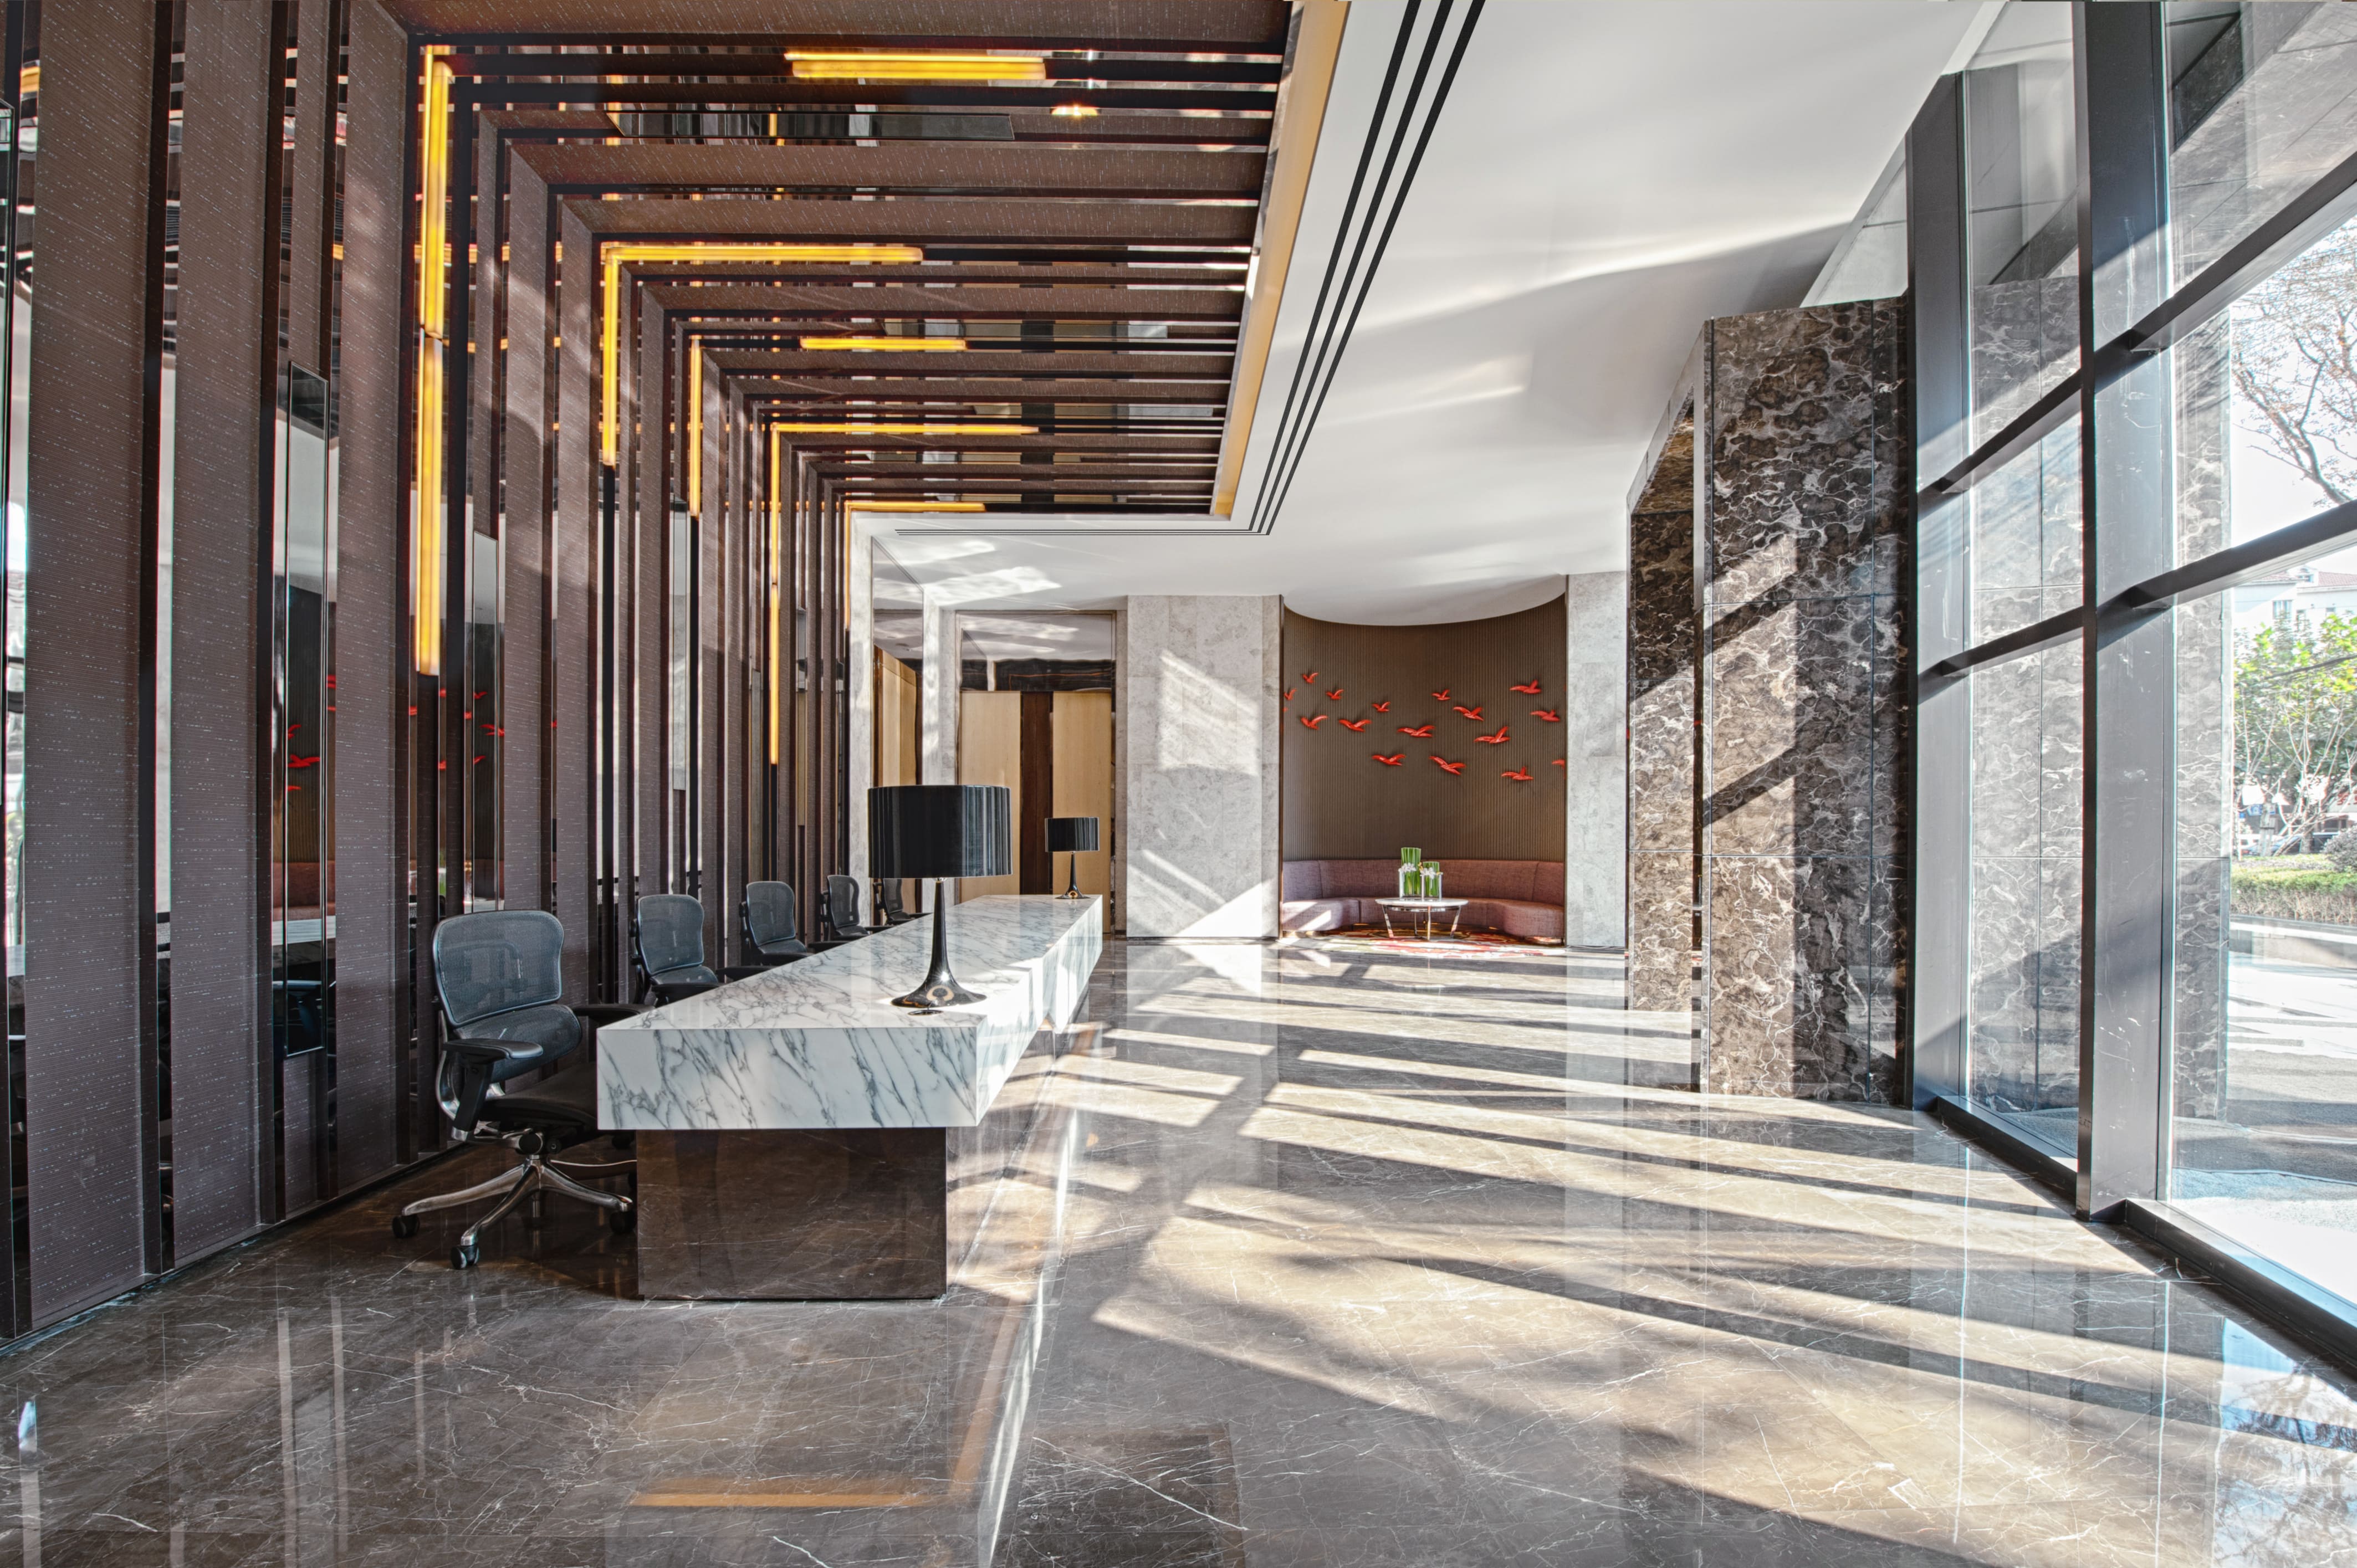
The GYP-P-LINE is an innovative linear diffuser made of gypsum composite mounted on a steel structure. Its unique design allows for invisible architectural integration in plasterboard ceilings, making it particularly suitable for demanding projects such as offices, retail spaces, restaurants, and hotels.
Essential technical specifications:
- Available in 3 lengths: 625 mm, 1000 mm, or 1250 mm
- Configuration of 1 to 3 slots (slot width: 20 mm)
- Integrated and adjustable deflector to customize airflow direction
- Coanda effect for optimal air distribution
Key advantages:
- Invisible integration into the ceiling
- Perfect flush alignment with the surface
- Can be sanded and painted along with the ceiling
- Adjustable airflow direction (vertical or horizontal)
- Option to create a continuous band

Required materials for installation
Before beginning the installation, make sure you have all of the following items:
System components
- GYP-P-LINE diffuser
- Galvanized steel plenum with 5-sided insulation
- Connection spigot(s) (to be ordered separately)
- Flexible duct
- Screws and fastening elements
Required tools:
- Screwdriver
- Spirit level
- Measuring tape
- Plastering materials (joint compound, sander)
- Utility knife or shears for the flexible duct
Detailed installation steps
Plenum preparation (step 1)
Begin by properly preparing the plenum, an essential element for ensuring optimal air distribution:

- Identify the ideal location for the spigot on the plenum
- Carefully remove the corresponding pre-cut section
- Install the spigot at the chosen location and secure it firmly
- Verify that the support elements are correctly positioned
Practical tip: Choose the spigot location based on the accessibility of the air duct network to facilitate later connection.
Attaching the diffuser to the plenum (step 2)
This step is necessary to ensure the stability of the assembly:
- Position the GYP-P-LINE diffuser on the plenum
- Carefully align the diffuser with the designated mounting points
- Secure the diffuser to the plenum using the provided concealed screws
- Test the solidity of the assembly by applying slight pressure
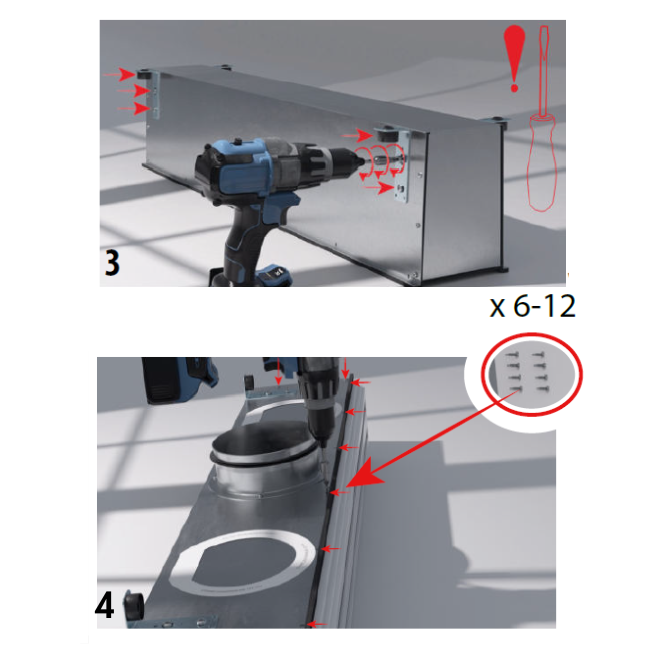
Ceiling installation (step 3)
The ceiling integration must be performed with precision:

- Position the plenum-diffuser assembly at the designated location
- Securely attach the plenum to the ceiling structure
- Connect the spigot to the air duct network using the flexible duct
- Check the connection for airtightness to prevent any air leakage
Important note: Ensure that the flexible duct does not have any sharp bends that could reduce airflow.
Alignement with the suspended ceiling (step 4)
Precision at this stage ensures a perfect aesthetic result:
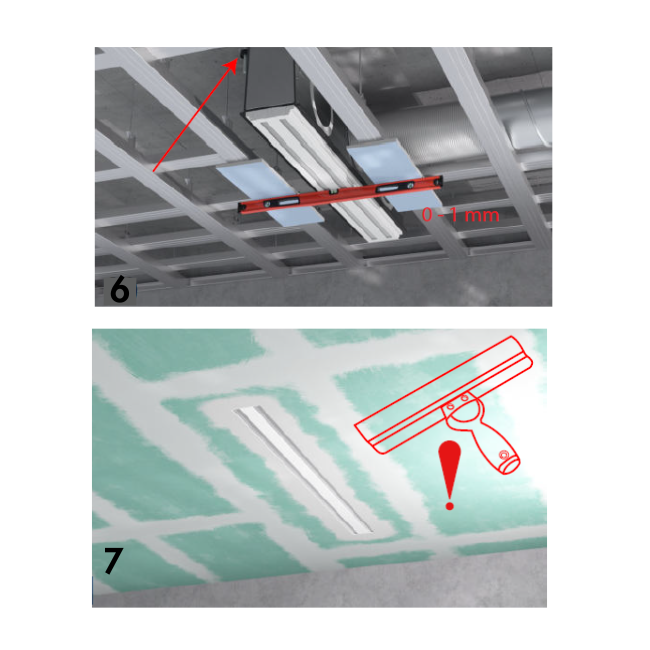
- Adjust the height of the diffuser so it is perfectly aligned with the final ceiling level
- Use a spirit level to ensure the diffuser is perfectly horizontal
- Verify that the ends of the diffuser (equipped with magnets) are correctly positioned
Installing plasterboard panels (step 5)
This phase requires care and precision:
- Install the plasterboard panels around the diffuser, maintaining a 2-3 mm gap
- Carefully cut the panels so they fit perfectly
- Secure the panels to the ceiling structure according to best practices
Tip: Use a template to make precise cuts in the plasterboard panels.
Finishing (step 6)
The quality of the finishing determines the final appearance of the installation:

- Protect the diffuser slots with masking tape.
- Apply joint compound between the diffuser and the plasterboard panels.
- After drying, gently sand to achieve a perfectly flat surface.
- Apply paint to the entire ceiling, including the diffuser.
- Carefully remove the slot protections once the paint is dry.
Configuring the deflectors (step 7)
Adjust the deflectors according to specific air distribution needs:
- Access the deflectors integrated in the diffuser slots
- Orient the deflectors as needed:
- Vertical position for direct air flow
- Horizontal position for Coanda effect and lateral diffusion
- Check for uniform orientation along the entire length
Continuous band installation as an option (step 8)
To create a continuous linear effect with multiple diffusers:
- Remove the detachable end caps from adjacent diffusers
- Perfectly align the diffusers during installation
- Ensure that the junction between diffusers remains invisible after finishin
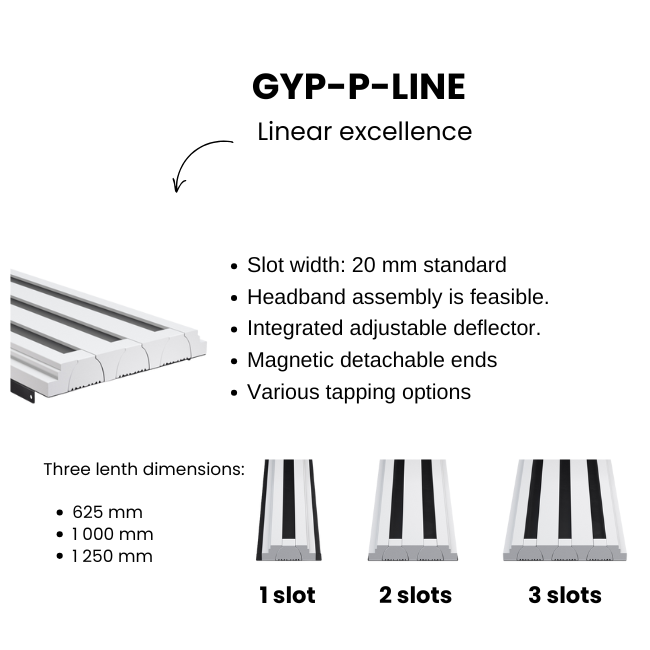
Recommended configurations based on spaces
Adapt your installation to the specific requirements of each project:
- 1 slot: Ideal for residential spaces and low airflow requirements
- 2 slots: Versatile solution suitable for most commercial applications
- 3 slots: Recommended for large volumes requiring significant airflow rates
Tips for successful installation
- Handling: Handle the diffuser with care to avoid damaging the gypsum composite
- Storage: Store diffusers in a dry place and flat position before installation
- Balancing: Ensure the system is properly balanced after installation
- Maintenance: Simple cleaning with a slightly damp cloth is sufficient for maintenance
Quick troubleshooting:
Problem :
Excessive noise = possible cause might be airflow too high. Solution : adjust the flow rate at the duct level.
Uneven air diffusion = possible cause might be deflector orientation. Solution : check and adjust the orientation of deflectors
Condensation = possible cause might be insufficient insulation. la cause est probablement une isolation insuffisante. Solution : check the plenum insulation
The installation of the GYP-P-LINE diffuser represents the ideal solution for combining technical performance and refined aesthetics in your projects. Its innovative design guarantees perfect integration into plasterboard ceilings, providing optimal air distribution while preserving the visual harmony of spaces.
Our team of experts is available to support you in the successful completion of your projects.
Contact us for your projects, technical studies, questions, or quotes. Our teams are ready to assist you.
27460 Alizay
Timetable
8h00 - 12h00, 13h30 - 17h30 Web https://www.ouestisolventil.fr/ Direction
1930 Zaventem, Belgium Web https://www.cairox.be/ Direction
BITEP Industrial Park, 2040 Budaörs, Hungary Web https://cairox.hu/ Direction
013604 Bucharest, Romania Web https://www.cairox.ro Direction
Manchester M24 2RW, United Kingdom
Web https://www.sksales.co.uk/ Direction MAS : Mechanical Air Supplies LTD
Leatherhead KT22 7DG
United Kingdom Web https://masltd.com/ Direction
8045 Graz, Austria Web https://www.profant.at Direction
54293 Trèves Web https://blh-trier.de/ Direction
8381 Tilst,
Denmark Web https://a2t.dk/ Direction
8381 Tilst,
Denmark Web https://a2t.dk/ Direction